Prevost Community Forums

Find answers, ask questions, and connect with our
Prevost Community around the world.

  • Rear Ride Height Levers H3

    Posted by Jerry on December 7, 2016 at 9:22 pm

    I January of this year, after I bought my newer to me 2004 Bus, the rear ride height looked a little low. I took the bus to Prevost for a level 3 service, and asked them to set the ride height in the rear. I had done it on my other buses before by moving the valve on the bracket to pivot the valve up or down to move the arm.

    I walked up and saw the tech pulling the rubber ends on the rod to make the rod longer again, and then clamping the rubber ends down with little hose clamps! I asked him about that procedure, and he said that’s they way they do it!. I left with them like that even though I didn’t like it.

    I took the fenders off the other night for the first time since January to fix an air leak, and I saw that the rubber ends wer “floppy” on the rod/lever.

    I had noticed that the bus seemed to roll or lean more going into curves recently, but thought it was shocks. But, the ride valves were not getting activated because of all the slop in the bolts, and the rubber ends extended so far that they were flimsy on the ends.

    I called Prevost Parts, and they told me they had a newer design rod which worked better, so, I ordered those, installed them, and no more sloppy/flimsy rubber ends to worry about slipping or being extended like mine were.

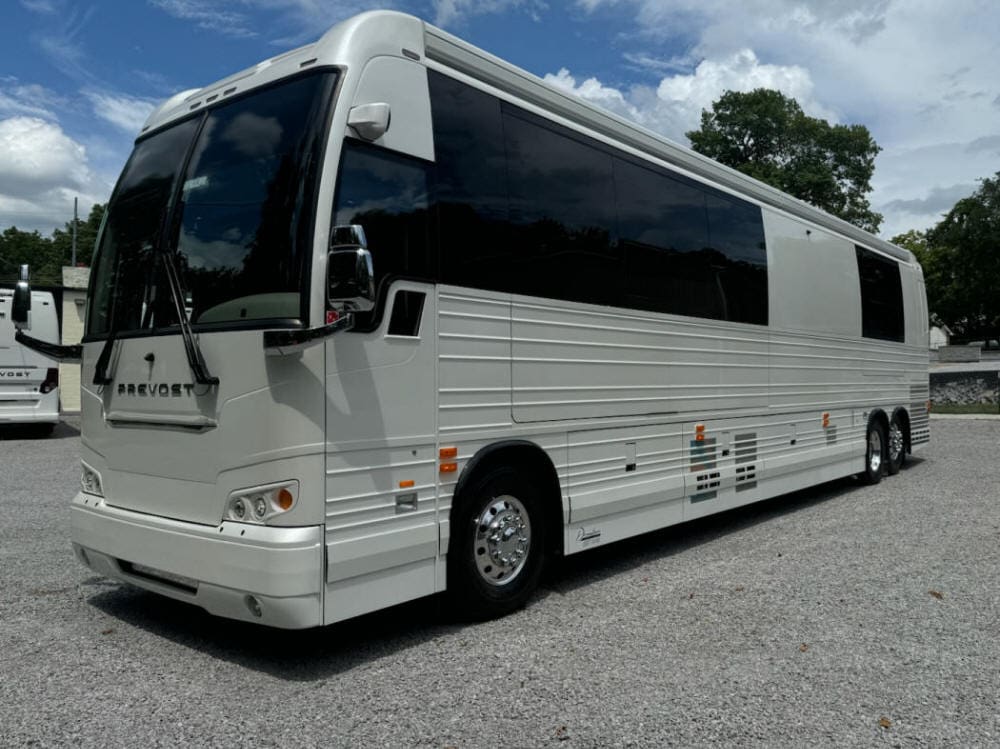
    The new levers have a tight rubber grommet on each end that pivots on a stud. No play at all now, and I’m sure it will handle better!

    Just another item to check if you have the older style!

    (sorry about the sideways pictures?)

    Bill replied 9 years, 8 months ago 9 Members · 14 Replies
  • 14 Replies
  • Archived

    Member
    December 8, 2016 at 6:48 am

    Good post Jerry.

    I have always wondered why Prevost has not used a solid rod assembly with a turnbuckle in the center for needed adjustments.

  • Archived

    Member
    December 8, 2016 at 9:03 pm


    Are these rods with the rubber ends only in H’s? Or could this be a fix for Xlii’s too?

  • DON

    Member
    December 9, 2016 at 6:41 am

    XL ll have the solid rod in front on the ride height valve and the ones with the rubber ends on the back two , they do not offer the solid ones for the back on a XL ll

  • Peter

    Member
    December 9, 2016 at 8:02 am

    Just a word of caution for those who might wish to do their own work on the bus suspension.

    When the key is off the air in the air bags, by design, is to remain locked in the air bags. That means work on leveling valves can be done without fear of the bus suddenly moving. But do not trust the bus. Ever.

    Our buses are 50,000 pounds of danger if we think we can get under or work on anything without first supporting the chassis at the body support points. If you do not know where those support points are please go on line to your service manual on the Prevost web site and learn where they are.

    Even if you do not work on your coach you may have occasion to have someone else do some work and they should work safely. Support the chassis any time work is being done, especially if the work involves the suspension or someone has to be beneath the coach.

    Air bags will leak down. The suspension system will leak down, and there have been several reports of an air bag bursting and the chassis suddenly dropping without warning on a coach that was just sitting with the engine off.

  • Dick

    Member
    December 9, 2016 at 2:47 pm

    Those rods could be easily made if Prevost doesn’t offer them for an XLII. I started to make my own with (as Jon Suggested) a turnbuckle in the middle for easy adjustments.

    All it takes is a 1/4″ steel rod with some rod ends. I slipped my old ones off without disturbing the valve arm location. Only took a few minutes with the fenders off, and you don’t have to get under anything on an H.

  • Dick

    Member
    December 9, 2016 at 3:58 pm

    Using ready rod with eye rod ends and a turnbuckle in the middle eliminates parts subject to fail such as rubber ends or center pieces.

    Given the use of the leveling valves it seems 1/4 or 5/16 ready rod (fully threaded) would be ample.

  • Jerry

    Member
    December 9, 2016 at 3:59 pm

    I carry two 20 ton bottle jacks in one of the bays all the time. Even if I have a problem on the road and I or someone else has to crawl underneath the coach, it can be safely supported.

  • Archived

    Member
    December 9, 2016 at 4:32 pm

    You need more than bottle jacks right? You need some sort of stands to put in there…

    Are there specific stands that are good to carry around?

  • Walter

    Member
    December 9, 2016 at 4:52 pm

    As long as bottle jacks are not hydraulically extended, but are in the full down position, with the screw type center post extended to reach the support point you are 100% safe.

    While hydraulically extending it to reach the support is better than nothing, it will not address a potential and sudden hydraulic failure. Supports need to be fail safe.

  • tom

    Member
    December 9, 2016 at 4:58 pm

    I should have been more complete, as Jon points out I leave the 20 ton bottle jack fully lowered (hydraulically) and screw the post up until its about 1/4″ below the jacking point. If the coach settles down, it isn’t going to uncrew by itself.

    I recall seeing a picture of some pretty nice extremely heavy duty jack stands for a coach posted some time ago. Heavy wall square steel tubing welded to a bottom plate with gussets for support, carrying/positioning handles, and the top of the tube welded shut.

  • Ronald

    Member
    December 9, 2016 at 5:07 pm

    OK – got it. I’ll just get another bottle jack. Thanks!

  • Bill

    Member
    December 9, 2016 at 9:29 pm

    Jerry, I don’t see any adjustment. Am I missing something.?

    Bill S.

  • Archived

    Member
    December 10, 2016 at 8:20 pm

    Bill,

    No you are not missing anything, Jon and I were just saying that it would be nice if Prevost would offer a rod with a turnbuckle in the middle for easy fine tuning/adjustments. One could easily be made, but the ones I installed are solid rods from Prevost.

    The back of the ride height valves have two 7/16 nuts that hold the valve in place. One of the nuts has a slot behind it, so you can loosen them, and actually move (pivot) the valve to get the adjustment up or down. Once they are bolted tight in the right place with the new rods, you shouldn’t have a problem anyway.

  • Archived

    Member
    December 10, 2016 at 9:24 pm

    Except when changing air bags you should never have to adjust the rods on the ride height valves. To arrive at the correct height try to run the coach above and below the correct height and measure where it settles each time.

    The ride height valves are always going to get it close, within a small fraction of an inch. But it will never be perfect each time because there is a small variation of the angle in where the valve arm comes to rest at the zero position. The intent is to measure the variation of each up an down cycle and try to get the adjusted rod length to be centered within the range variation.

Log in to reply.