
-
Belt Mini air bag will not come out!
Posted by Jerry on December 5, 2013 at 7:49 pmI am trying to replace a leaking (bad) air bag on the belt tensioner for the cooling fan. The problem is, after removing the air line, the large nut on the bottom that holds the bag in place is rusted, and when I turn it, it turns the whole air bag. So, I tried everything to hold it, and the nut still will not break loose. I even cut the top of the bag off, to get to hopefully something to grab, but nothing in there. I even drilled a hole through the plastic base and the top of the metal stud, put a screwdriver through it, and then, tried to turn it with a long torque wrench/ratchet.
So, before I get the Torch out, does anyone have a tip on getting the 15/16 nut off the bottom?
Jim/Chris replied 12 years, 10 months ago 8 Members · 11 Replies -
11 Replies
-

Given that the nut and bellows are the worst ones to access it sounds as though you are doing everything you can.
I’m not kidding when I say this, but if push comes to shove the only way to really get the best access is to remove the radiator (or the engine). Have you soaked it with pentrating oil? Sometimes that and a good shock such as striking it with a chisel or using an impact wrench is what it takes to break the bond between the rusted parts.
-
Yea, I’ve tried soaking it with oil, but since it’s underneath, I don’t think it’s soaking up in it much. After looking at the lower section of my radiator flues, they look like they are deteriorating, I’m probably not far from needing to change the radiator anyway.
Pass on the taking engine out LOL!
I do have an air chissel, I think I’ll try that today, then the torch if that doesn’t work, just not much room to reach up in there.
thanks Jon
-
The advice you got on POG about using a grinder seemed like a good idea, especially if you can position it to split the nut. The only problem is the space you are working in seems so limited.
If the fins on the radiator are deteriorating that does expand the work you are doing by necessity. If the fins on the rear side where you are working are failing the ones on the front side of the radiator might be worse. That explains the rust on the bellows because the road salt or salt from a coastal environment that is affecting the fins is what has caused the rust on the nut..
This is a guess, but if that is the situation, take a hard look at the floor in the area of the radiator and going forward toward where the exhaust pipe drops down. That is another area that suffers from premature rusting. I have seen Prevost cut out that “floor” and have to weld in a new one.
-
Just another suggestion….Try heating the nut with your torch; let it cool off and it might help break the rust bond. Big pair of Channel-locks to hold the back side???
When you install the new one, slather it good with anti-sieze for the next time you have to remove it.
Good Luck!!
-
That’s a tough spot to work Jerry with the fan so close, I think you’re best option is to just cut it off with the torch.
-
Try Dewalt saws all with long blade that will cut it off,,they are long and narrow might work never leave home with out it !!!!!!
-
Jon,
The floor is in good shape, expecially around the exhaust. There is some surface flaking on the steel piece below where I am working, but seems to be solid. Does $4000 sound about right for a new radiator?
Mike,
Good advice on the anti-sieze, will use that.
Tom,
Yea, the fan has tore up my arms, looks like I’ve been in a fight! This morning, I took my side grinder and finally got all of the plastic and cut the rubber bag off, so now, all that’s left is the bolt.
Peter,
I have a Dewalt saws all. It will not fit sidways, due to the thickness of the battery on it. I’m going to find a smaller cut of tool than what I have, or, the torch is coming out!
-
Jerry, I am not surprised at that cost. The radiator can be recored and that might bring it down. You likely have a shop that can recore it that services the local trucking or bus companies.
-
Ok, got it done, here’s a few pics.
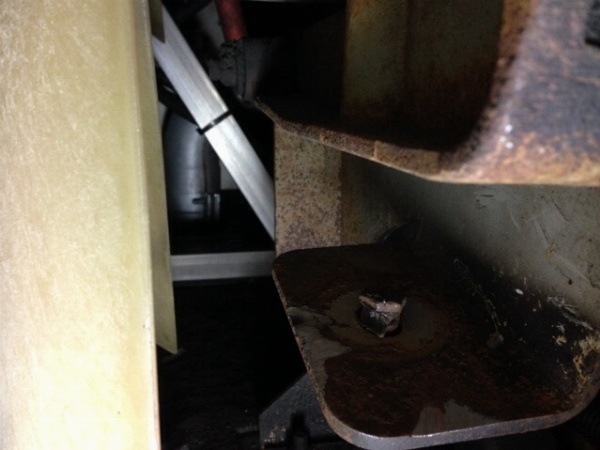
after the bag and plastic base cut off
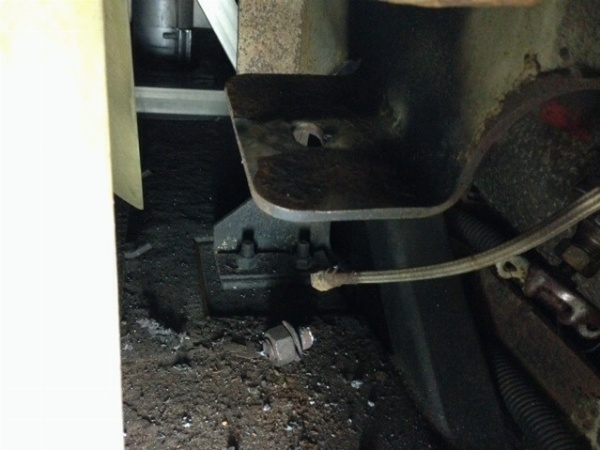
Cut off the bolt with a cutting torch

This shows the optional band around the bag that Prevost suggest to keep bag from leaking. Newer buses come with them.
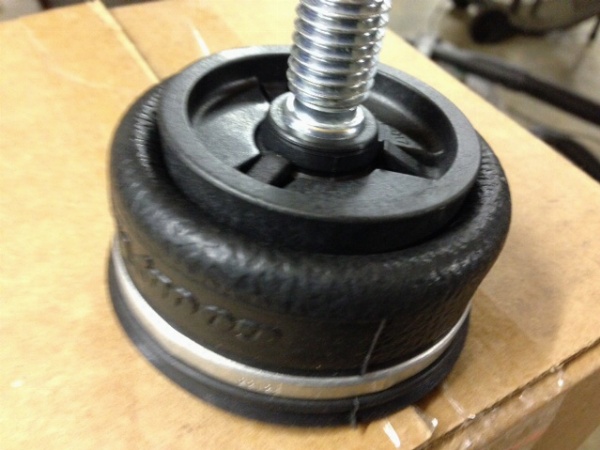
bag without the extra band
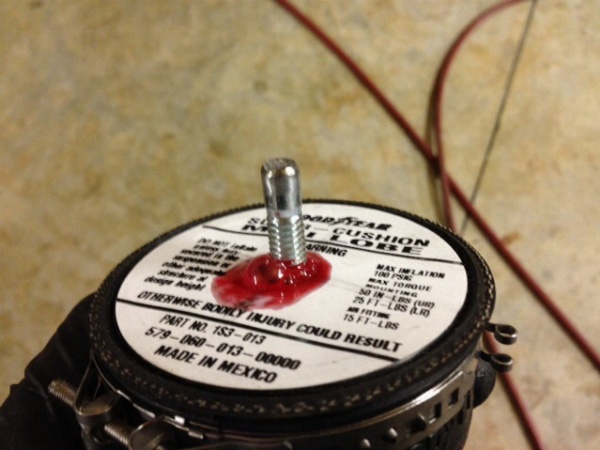
I made a stud instead of a bolt, and used Loc-title to secure it. There is no way to get a bolt back in this bag without taking the radiator or complete fan assembly out. The housing is plastic on the bag, so all it does is center the bag, no pressure against the bolt because the air keeps it tight.
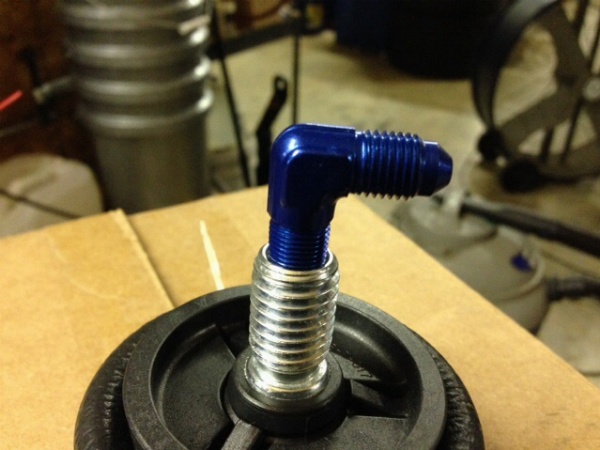
i used an AN fitting out of my race car parts for the air line. Brass fitting was on it originally.
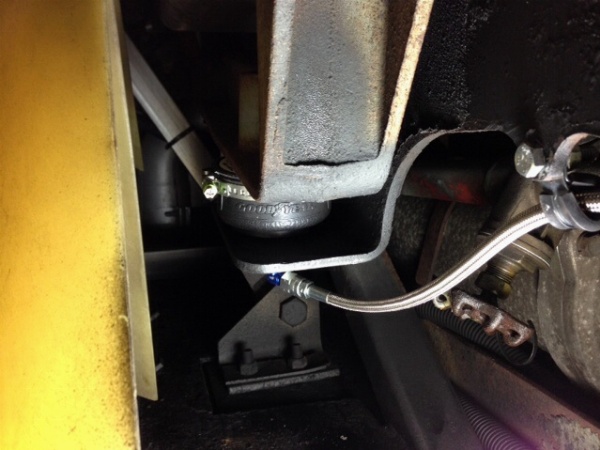
Here is the finished project. New bag, extra bag clamp, and new braided air line and fittings. Even a new Adel clamp. Now on to the other two bags, which should be MUCH easier……….hopefully.
-
I feel your pain Jerry. I have replaced two sets of those belt tensioners and always end up bleeding before I am done. You are correct in that the remaining ones will be much easier. FWIW my present coach did not have a check valve at the valve so I installed one. The bus has not been aired up for two weeks and the belts are still tight. The point being after all your work, if you don’t have a check valve install one and your belts will not go slack for quite a while if the rest of the system is air tight.
You did a great job. It looks good.
Log in to reply.